There are many talks on WordPress themes, plugins, or page builders whatsoever. But today, we’d like to focus on the basics. Our next tutorial will teach you to create a WordPress Gutenberg blog post using simple blocks.
Briefly About Gutenberg
It’s been almost 4 years since the so-called Gutenberg editor replaced the classic editor as a default WordPress solution. Although many oldies were skeptical about the changes, the visual block approach proved its obvious advantage over the text editor.
Gutenberg blocks help you create visually appealing posts and pages. Every element, be it a paragraph, image, video, or anything else comes in a block. This means you can create complex layouts without accessing the code.
One more advantage of the block editor over page builders with the same visual interface is the fact that it does not harm your website. Whether Gutenberg blog posts or pages, they are likely to display higher speed rankings.
Now, here’s a quick tutorial on how to make a blog post in WordPress.
How to Create a WordPress Gutenberg Blog Post?
For this guide, we’ll be using Gutenix as a theme example.
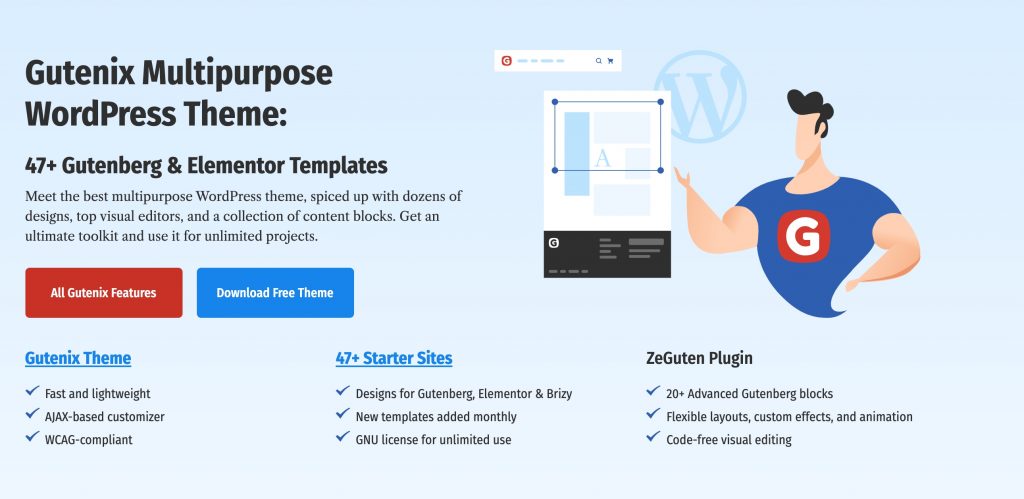
With the Gutenix theme, you get a bundle of 47+ multipurpose WordPress skins working for Elementor, Brizy, or Gutenberg. Each of them is carefully designed for one small business niche:
- Food (Yummix, Majong, Greenchef, Brewiner);
- Healthcare (Dentrexa, Robinson, DocSays);
- Sports (IronBody, Fitnession, FresherDiet);
- Repair services (BestPlumber, Fixis, Construction);
- Legal services (JusticCo, LawGuru, LegalEnd);
- Real estate (YoursEstate);
- … and more.
New to Gutenix? This is how to get started with this WordPress multipurpose theme.
Now we’ll be using the School skin for a better visual demonstration. First of all, you will need to install this skin on your WordPress site. Follow this link for the installation instructions.
This is the demo look of the blog page:
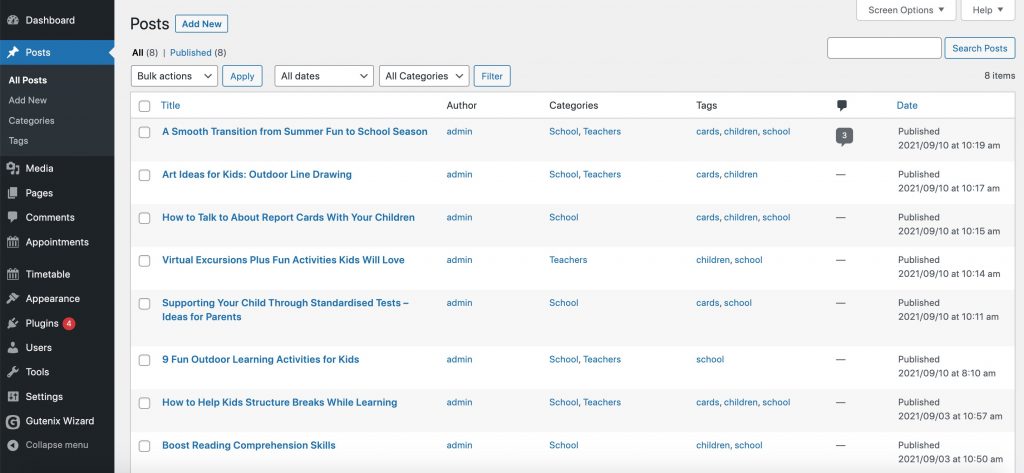
Go to the WordPress dashboard and click the Posts tab. You will see a list of posts used as demo content. You can either delete them or replace the existing content with your own one:
Click the first post and you will proceed directly to the block editor:
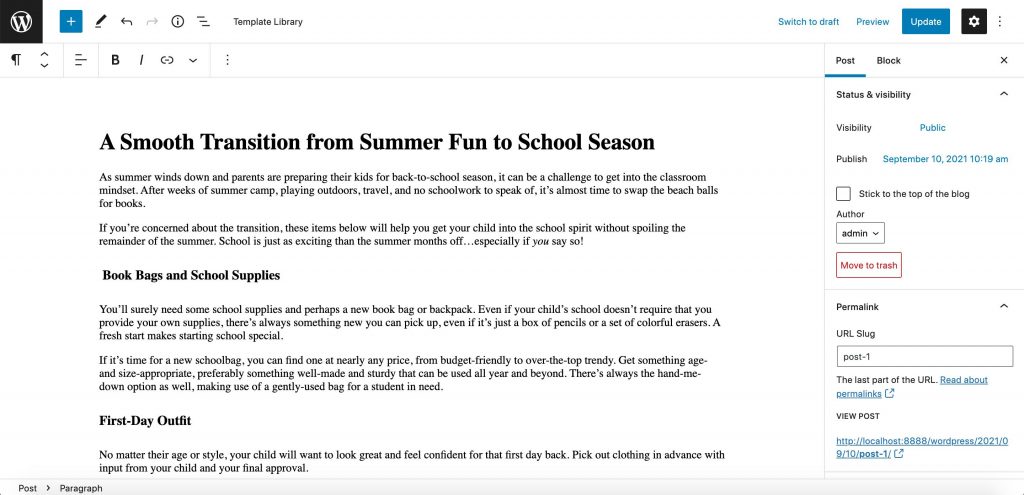
1. Change Titles & Paragraphs
The upper bold text is the title of your post. You can easily change it with your own title.
The next ones are the paragraph & heading blocks. Replace the text content and add your own headings right in the editor.
You can easily add, remove or move the blocks around.
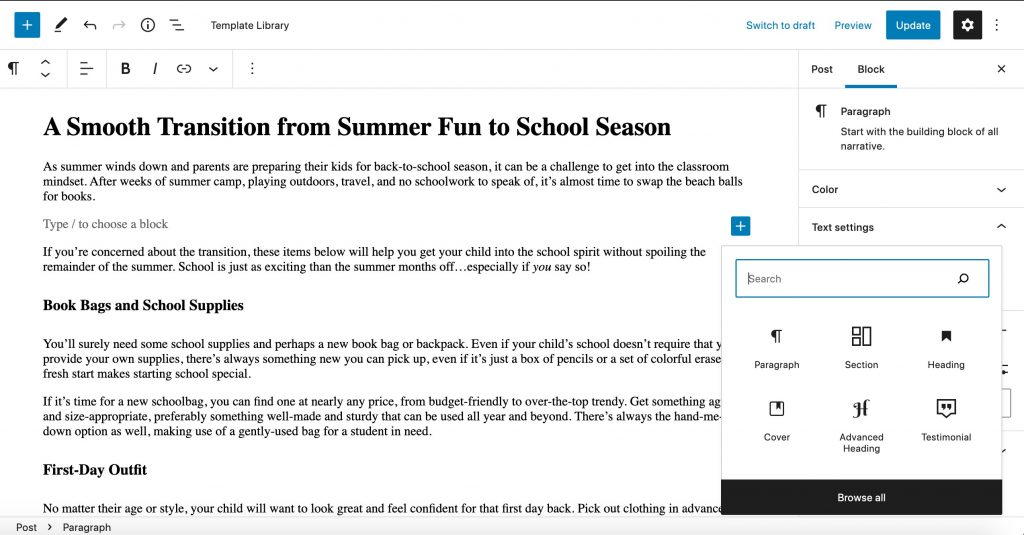
To add a new block, click the + sign on the left or type the “/block_name”. OR press Enter and you will see the + sign to add blocks as shown in the image:
To remove the block, highlight the block/s and click Delete. For media content (images, videos, etc), it’s enough to click the block and then, delete it.
Gutenberg allows you to do the writing inside the actual editor. Each new paragraph is the new block. Press Enter each time you need to create a new block, whether it’s a paragraph, heading, or other visualities.
Alternatively, you can copy/paste the content from any text editor inside the editor.
2. Add Media
It’s not easy for users to perceive a large chunk of text without any visual content. Do not neglect to add visual elements like images, videos, charts, etc.
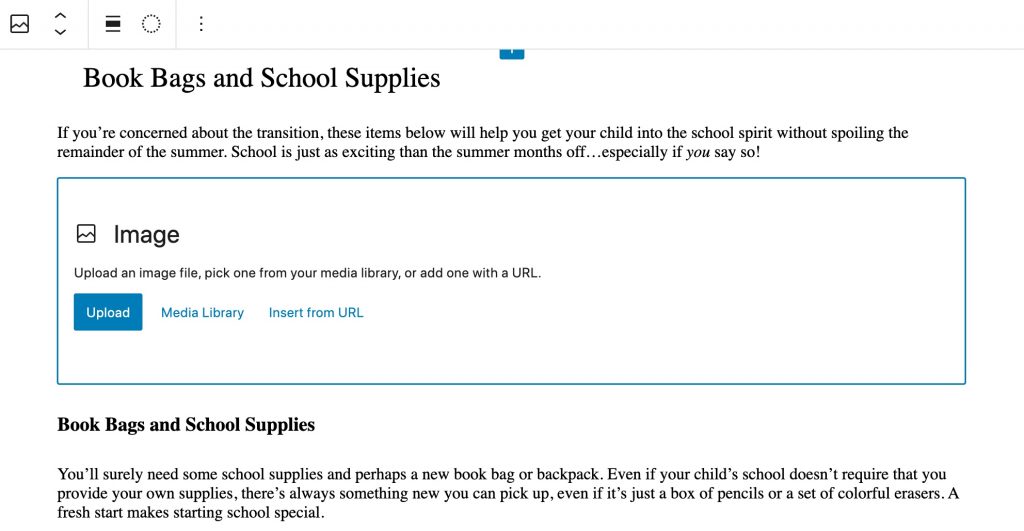
To add an image or video, find the Image/Video block and then, upload the file OR choose the one from the existing media library. An alternative option is to insert an image/video from the URL.
Also, you can drag and drop files from your system and the block editor will automatically create the needed block.
You can upload one or several files at a time:
The Media & Text block will wrap the text around an image so they’ll be next to each other.
The Gallery block can be used to put images in a grid.
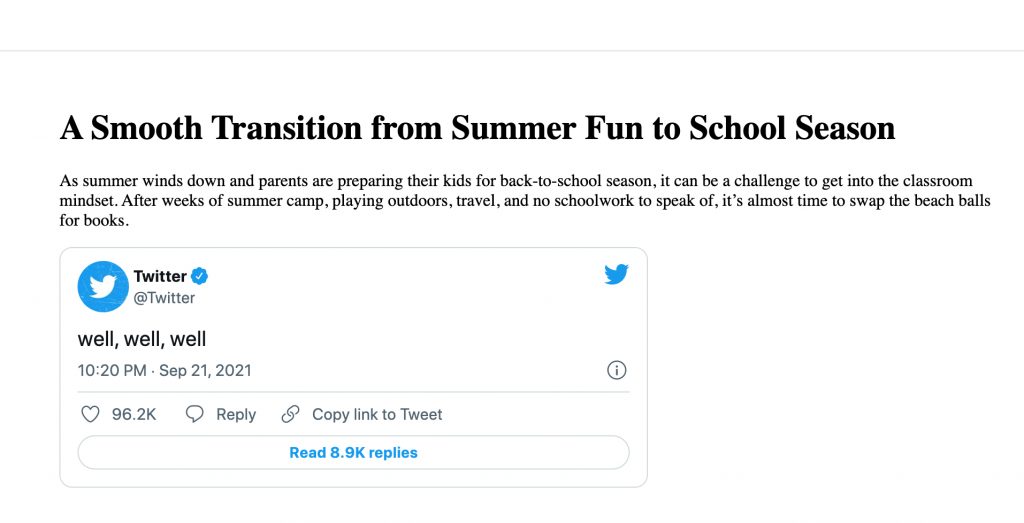
Another core Gutenberg block for more explicit media content is the Embed block. It allows you to display any video, image, tweet, audio, and other content from this list. All you need to do is enter the needed link to the block:
3. Use Advanced Blocks
Sometimes, core Gutenberg blocks are not enough to cover the visual needs of your future website. You can supplement them with plugins providing more advanced Gutenberg blocks.
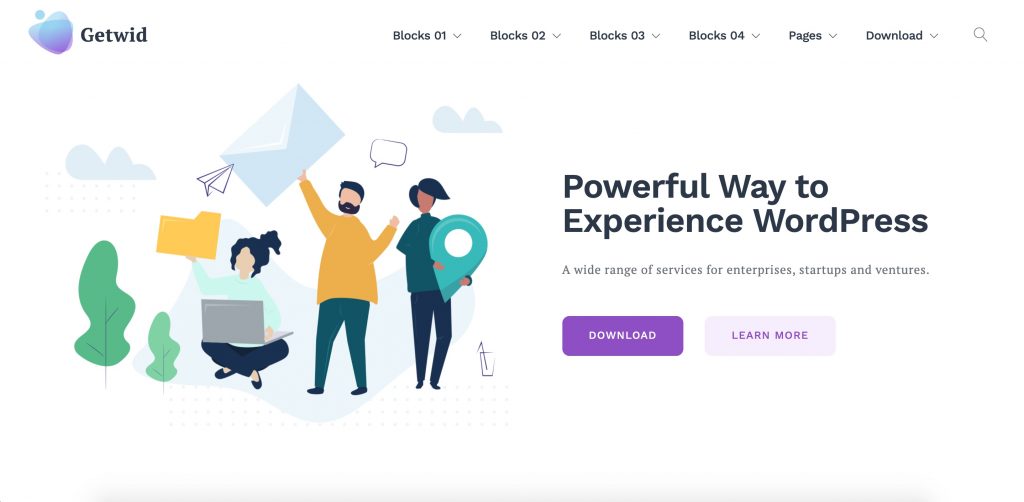
One of them is Getwid – a free library of 40+ multipurpose blocks, many of which are especially useful for WordPress blog purposes.
These are Getwid blocks you may need to create a beautiful blog post:
- Recent Posts
- Advanced Heading
- Image Slider
- Media & Text Slider
- Advanced Spacer
- Post Carouse / List / Slider
- Section (Container)
Click if you want to know how Getwid may enhance the Gutenberg functionality.
4. Edit Sidebar Settings
The right sidebar of the Gutenberg editor contains settings to make your post more recognizable in search engines:
In the status & visibility section, you can make your post visible to everyone, or make it private. Also, you can make it password protected and choose the publishing date.
The next one is a permalink. WordPress automatically creates a link from your post title. But you can change it as you wish to make it more SEO-friendly.
Next, you can create categories to organize the posts into several topics and let users find the necessary content faster. Use tags to make your posts SEO-friendly and simplify the search. Set the featured image to present your article.
Finally, you can write an excerpt to let visitors make a quick acquaintance with your article. An excerpt is a post summary, so try to make it as catchy as possible.
5. Draft, Preview & Publishing Options
In the upper right corner of the editor screen, you will the next buttons:
- Save Draft
- Preview
- Publish
You can save your content as a draft so you can publish it later. Also, you can use the preview button to see how your post looks on the web. Once you’re done adding content, and media, you can instantly publish your post or schedule it to a certain date.
6. Gutenberg Screen Parameters
There are many screen options to opt for, mostly for the screen parameters. Click the three-dot menu icon at the top right corner of the screen. You will see the view options:
- top toolbar;
- spotlight mode;
- fullscreen mode.
There you can switch between the visual or code editor, manage reusable blocks, view shortcuts, copy all content. Finally, you can view the Welcome guide on the block editor and address for Help.
WordPress Gutenberg Blog Post: Final Word
This is how to create a new blog post in WordPress block editor. It’s a perfect tool for adding multimedia content in a visual mode. You can easily add a blog post in Gutenberg using a variety of blocks for text and media files. Besides the core Gutenberg blocks, you can use more advanced blocks from such plugins as Getwid.