Nowadays each website uses visual content for a bunch of ideas. Featured images for posts, backgrounds for slider carousels, icons for listings – and it’s not even a half of purposes. The most popular image formats are JPEG, PNG, SVG for icons WordPress, and GIF, however, most developers still face one important question.
What format is worth using: SVG vs PNG
SVG is a special image format, also knows as vector graphics. It supports animation, transparency, and gradients. Whereas, PNG is a raster image format used for images in high quality. It also supports transparency, however, doesn’t support animation.
Modern websites are usually overloaded with content, so your images need to weigh less, which will help your website load faster. The main advantage of the SVG format is that it is very compressible and lightweight.
Moreover, SVG icons look good on every screen. Unfortunately, we can’t say the same about PNG format. The resolution of PNG images is limited, and so is the color pallet. Also, such images can’t be animated like SVGs.
Furthermore, SVG content has a lot more pros:
- each modern browser support SVG format;
- designers can create simple SVGs in a code or text editor, or export them from Adobe Illustrator, Figma or Sketch;
- you can insert text into SVG image as a separate layer – that will make them easy to search;
- if you want to edit SVG, you can do it via the CSS code: simply change the needed parameters;
- it doesn’t matter how many times you save an object – it won’t affect the original quality.
How to upload SVG icons in WordPress webpage using a special plugin
By default, WordPress doesn’t support the SVG format. However, you can do it via the plugin.
Uploading SVGs with the help of the plugin is the fastest way. To do this, you simply need to go to the admin dashboard of your website and open the Plugins tab. Here you need to click on the Add New button and type “SVG” in the search field.

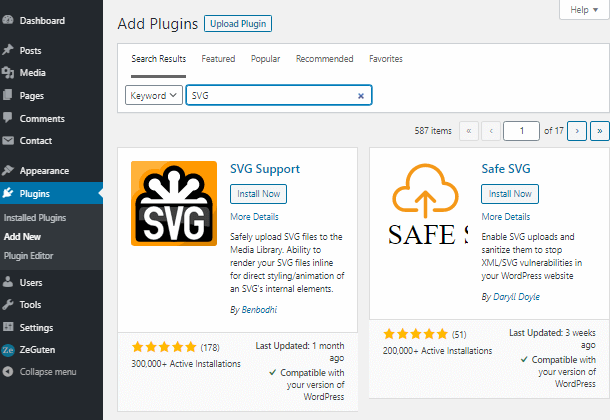
In this tutorial, we are going to show you how to upload SVG icons in WordPress based on the SVG Support plugin. Find this one and click on the Install button. After that, you have to activate this plugin.
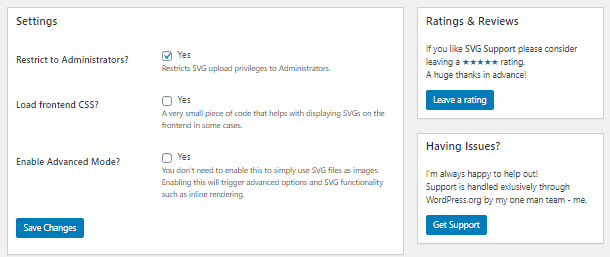
After that, go to the Settings > SVG Support. You have to check the box next to the Restrict to Administrators option. This step will allow you to upload SVG icons in WordPress.
In case you want to apply some additional CSS settings, like animation, to your SVG icon, you can also turn on the advanced mode.

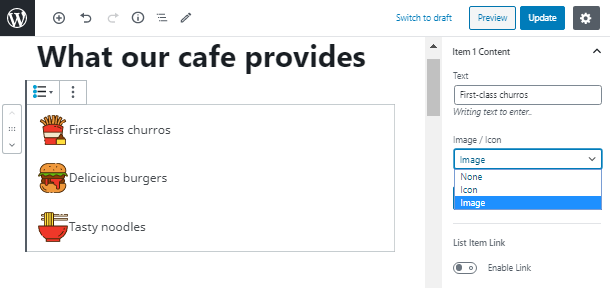
Now let’s try to upload an SVG image to any page of your website. Go to any page of your website and create a listing. You can do this with the help of ZeGuten plugin, which provides you with 14 amazing blocks, and the Icon list block is one of them.
Add a listing by clicking on the “+” icon and fill it up with content. After that, you need to click the Select image button and upload SVG file from your PC or media library.

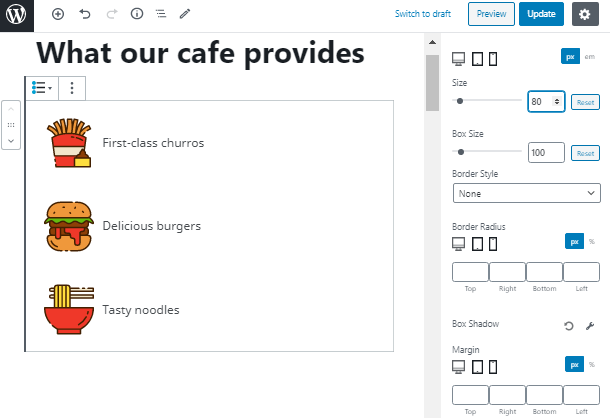
After that, you become able to vary the icon size without quality loss.

Sanitizing SVGs
This method of uploading SVGs also requires a plugin and allows you to perform the sanitization of SVG files uploaded to WordPress.
First and foremost, you have to return to the Plugins > Add New. Search for the Safe SVG plugin, install and activate it. This plugin allows any user who writes posts on your WordPress website, use SVG files.
This plugin is a so-called sanitizer, which solves a bunch of security issues. Safe SVG won’t allow you to upload unsanitized files and stop SVG/XML vulnerabilities affecting your website.