
We all loved the WordPress Classic Editor for its simplicity. But “being simple” isn’t always a benefit. The inability to edit HTML code made it impossible to create pages with a non-standard layout, meanwhile, working with the HTML code itself required a bit of an effort. Over a course of time, WordPress developers came to an idea of a fundamentally new solution – now known as Gutenberg WordPress editor.
History of Gutenberg WordPress Editor
Since December 2018, the new WordPress Gutenberg editor replaced the old Classic (TinyMCE) editor and ultimately, made a big change in the concept of website editing. No surprise why Gutenberg is named after the person who invented printing back in medieval Europe. Until now, we still consider the German pioneer printer Johannes Gutenberg a revolutionary figure in the history of the modern press.
After less than 2 years, users keep asking questions like, what is Gutenberg editor? Is it an updated version of the Classic editor or is it something totally new?
If you worked with TinyMCE, you know that it supported the two basic modes -“visual” and “text”:

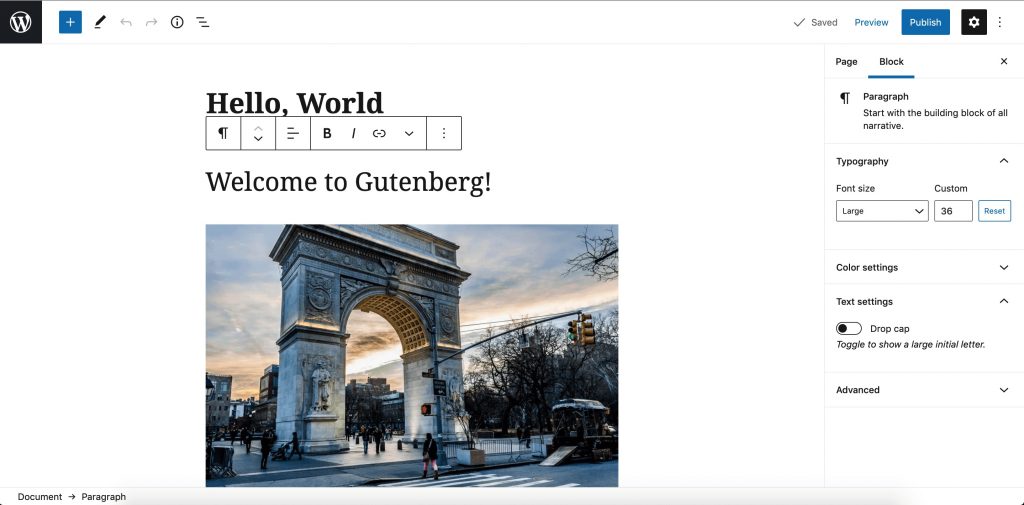
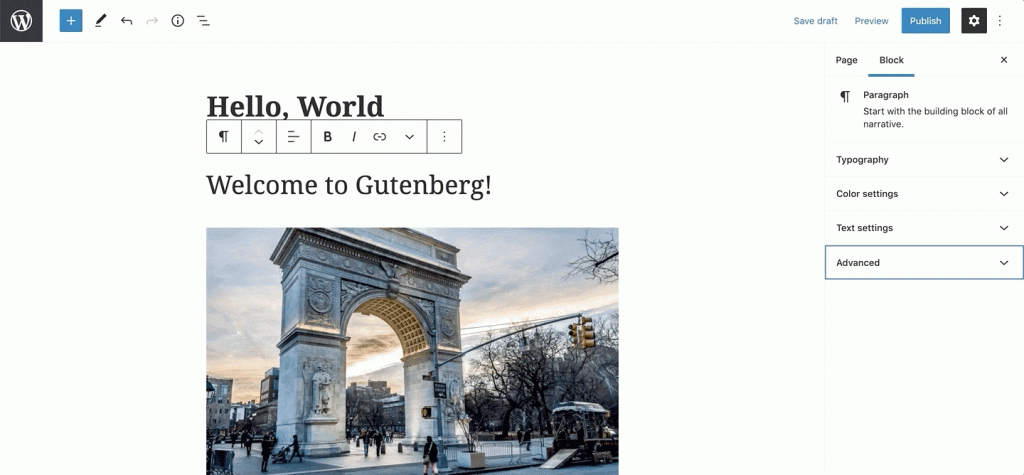
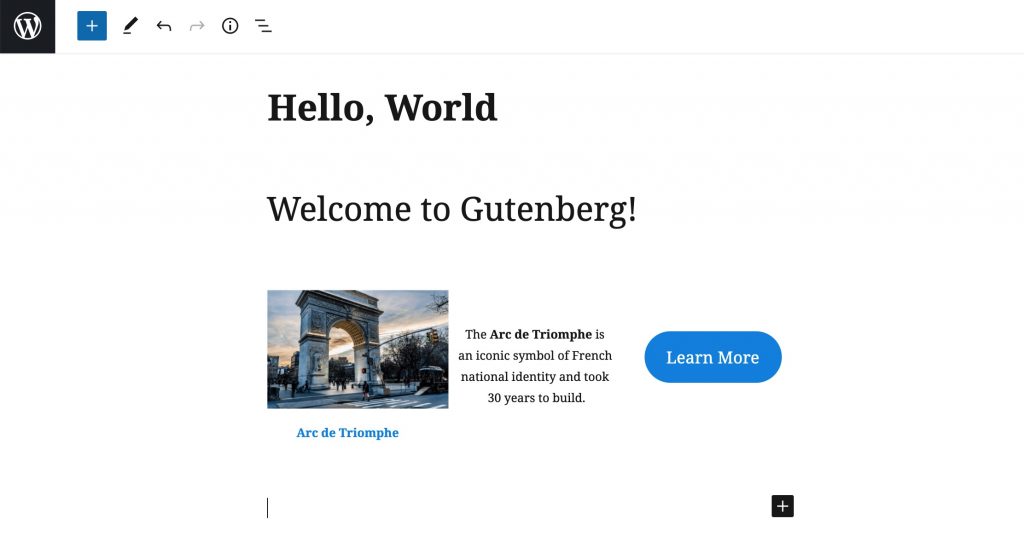
This concept, apparently, has nothing to do with the Gutenberg WordPress editor. The latter started the era of block editing – the structure where everything is focused on user-friendliness, and visual content creation. Heading, paragraph, image, quote – any type of content comes in a separate easy-to-edit block.

Why Gutenberg Blocks Are Better
The fact that the WordPress new editor is more user-friendly is not the ONLY reason to call it a revolutionary solution for website editing.
Gutenberg allows users to create more complex layouts and use more interesting content types.
After all, the WordPress Gutenberg editor is a lot more visual, so it lets you instantly view any styling and content changes made inside each block.
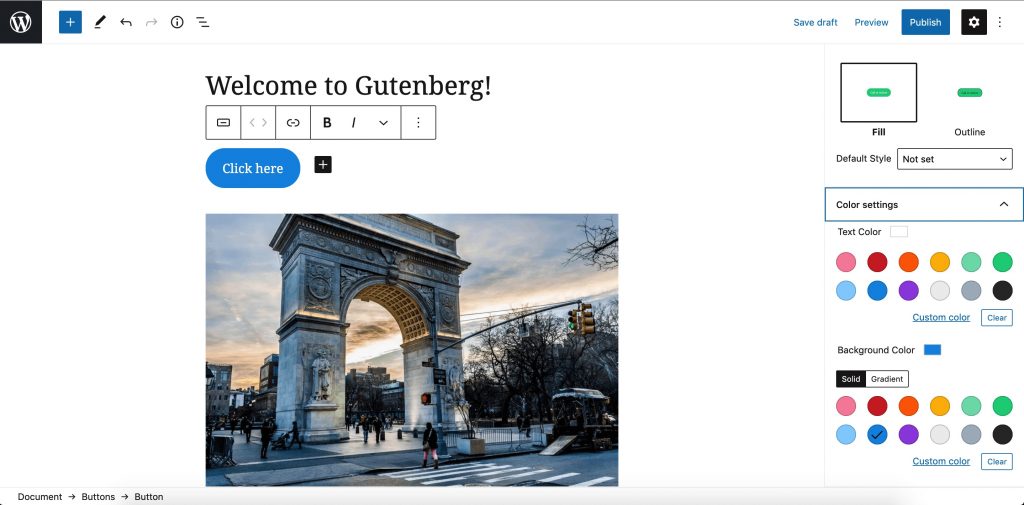
Let’s say, you want to add a button to your recent post. In the TinyMCE editor, you will need to use the Text tab to add the CSS class or use the shortcode from the button plugin.
In the Gutenberg editor, however, you will use the pre-made Button block and make the real-time changes as you see the button right on the page:
WordPress Gutenberg Tutorial: Blocks, Interface & Elements
Now that you have some basic understanding of the block editor WordPress, let’s get down to the actual Gutenberg block tutorial. You will be able to learn how to use Gutenberg to the maximum.
The quick navigation menu:
- WordPress Block Editor: How Does It Work?
- Gutenberg Navigation
- Extra Elements & Blocks
- More Tips on How to Use Gutenberg
WordPress Block Editor: How Does It Work?
The block concept is what we are thankful to the Gutenberg editor for. The standard WordPress blocks set includes plenty of elements for the most essential content of your website. The reason why I call it “standard” is because there exist a whole lot more Gutenberg blocks offered by WordPress third-party extensions (I will mention them below).
So the basic set of blocks includes:
- Paragraph
- Heading
- List
- Quote
- Code
- Table
- Image
- Gallery
- Video
- Audio
- File
- Cover
- Media & Text
- Columns
- Button
- Embedded objects
All these elements should be familiar to users of former WordPress users, so they don’t need an extra presentation. The main thing that has changed is how you manage them. Each new block represents a separate line that you can “drag and drop” with your mouse and place it anywhere on the page.
Another benefit of such a separate block is more subtle styling customization. For any paragraph, you can change the colors of both the text and the background. Finally, you may also define the color of each paragraph.
Last but not least, each Gutenberg-based paragraph can have its own customized font size.
Gutenberg Navigation
The block interface is simple, although a bit unusual (I rather believe it’s a matter of a habit).
On the top bar, you will see:
- The Plus Button – used for adding a new block. Click it and you’ll see the search panel with “blocks” and “patterns” tabs. Blocks are categorized in groups depending on their content types: text, media, design, widgets + extra block collections (Getwid might be the one)

- Interaction Mode – depending on how you want to interact with the blocks, you can choose between “edit” and “select
- Undo and Redo buttons – use the arrow signs to cancel the previous action or repeat
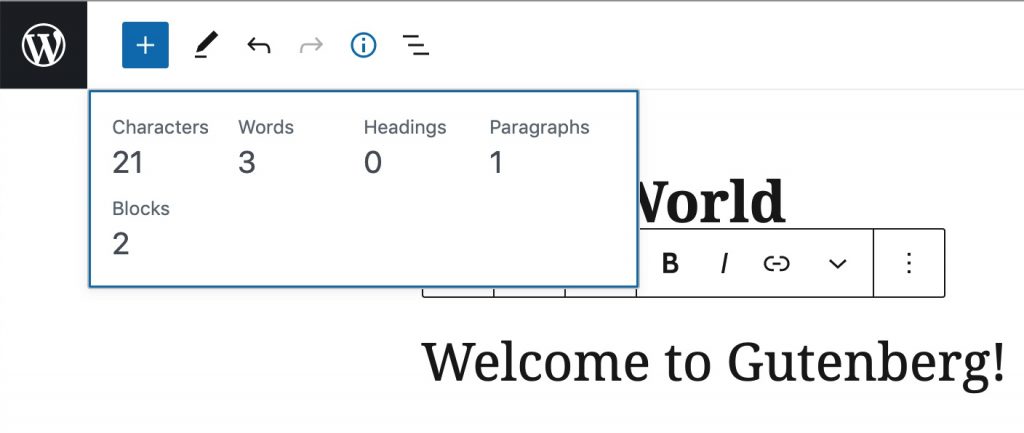
- The “I” sign – shows you the content structure. On hover, you can see the number of characters, words, headings, paragraphs, and blocks on the page.

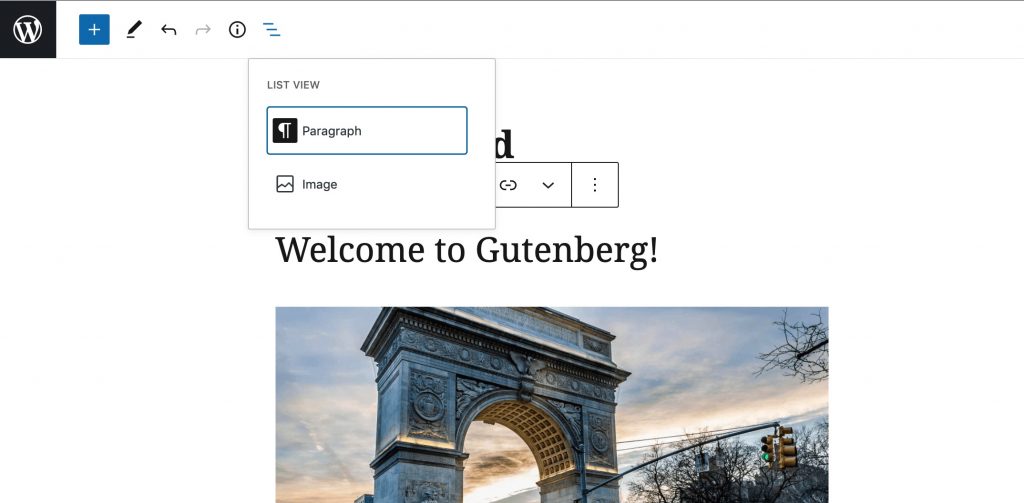
- List view – this is block navigation allowing you to “jump over” the desired block in case of complex page navigation.

The right column contains tabs for managing the entire Page and a separate Block.
The Page tab allows you to customize:
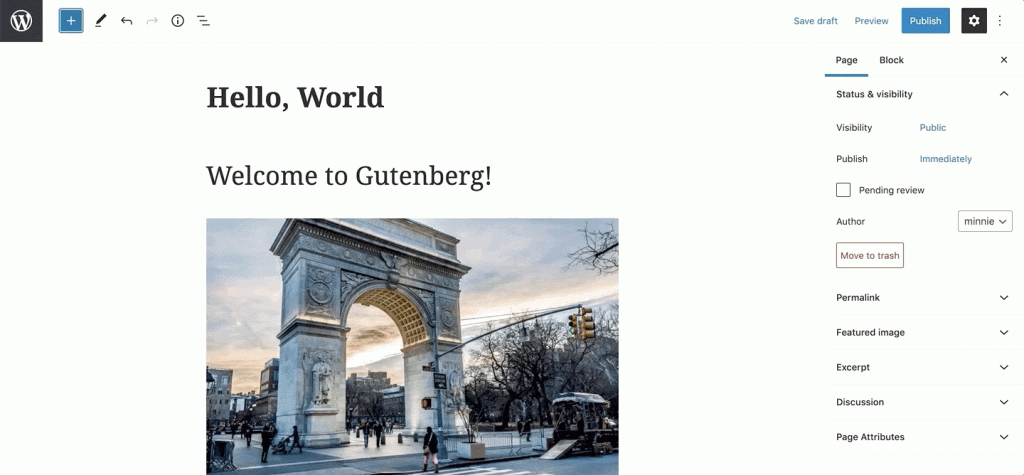
- Status & visibility – change the visibility mode, publish immediately, and change the author
- Permalinks – set up the URL slug
- Featured image
- Excerpt
- Discussion – allow comments or no
- Page attributes – template, parent page, order

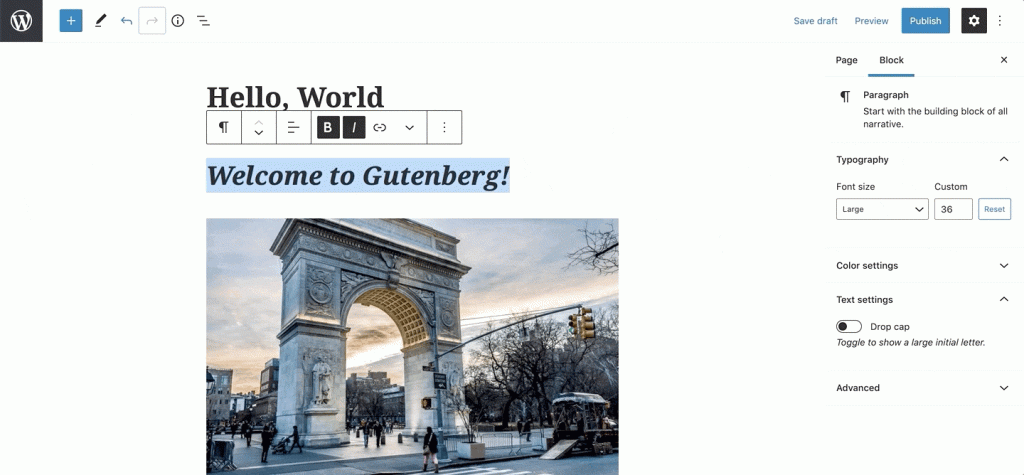
The Block tab allows you to customize:
- Typography – adjust the font size
- Color settings – choose the text and the background colors
- Text settings – toggle to show a large initial letter
- Advanced – HTML anchors, additional CSS class (es)
Some of the navigation tools become visible as you click on the block. The popped-up settings tab includes the next Settings:
- Block type or style – transform it immediately (click to see your options)
- Alignment – place the block above or below
- Font boldness
- Italics
- Link to an URL
- Additional formatting elements – inline code & image, strikethrough, subscript, superscript, text color
- Additional settings – hide, copy, duplicate, insert before / after, and more…
Extra Elements & Blocks
One of the great things about Gutenberg is that you can use third-party themes and plugins to add more interesting blocks and reach more exquisite styling.
Many developers are working on creating new content and layout blocks to extend the Gutenberg functionality. One of them is MotoPress – a company with 8-year experience in WordPress software development. The team developers created a plugin with 40+ free WordPress Gutenberg blocks.
Getwid WordPress Blocks becomes a great contribution to the existing pack of standard Gutenberg blocks. The plugin offers premium-like functionality and unique blocks for free.


6 Reasons to Use Getwid:
- Premium-like blocks for free;
- The largest collection of blocks;
- Designed for developers;
- Extensive attributes for each block;
- Real-time customization;
- Compatible with any WordPress theme.
Along with the plugins, there are a bunch of Gutenberg-supported themes to help you build beautiful websites in one click.
One of them is Gutenix multipurpose WordPress theme compatible with three WordPress builders: Gutenberg, Elementor, and Brizy. For each builder, the theme offers a certain number of starter pages, in other words, ready-to-go skins. Just choose the needed skin, replace the content with your one, and your website is ready to be launched.

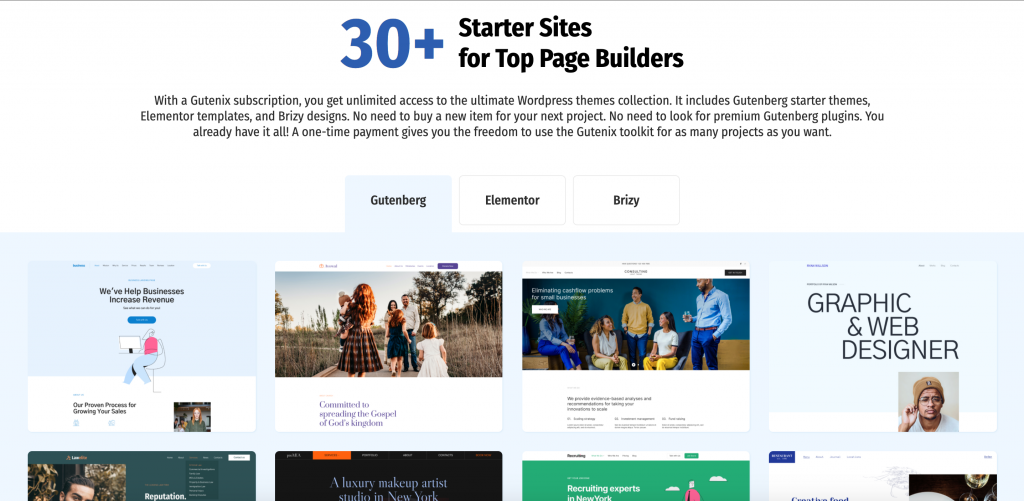
More importantly, Gutenix works great with ANY third-party WordPress addon, including Getwid Blocks.
Gutenix Main Features:
- Multipurpose
- AJAX-based Customizer (650+ fonts & unlimited color and design)
- SEO-friendly
- WooCommerce-ready
- Retina and translation-ready
- Support via a ticket system
To your convenience, Gutenix offers a free version of the theme that you can download from wordpress.org.
More Tips on How to Use The Gutenberg Editor
Hopefully, the above-mentioned WordPress blocks tutorial taught you how to create basic content with less hassle.
Now it’s time to share some cool tricks to make your Gutenberg experience a whole lot easier, and yet, reach more advanced and exquisite designs.
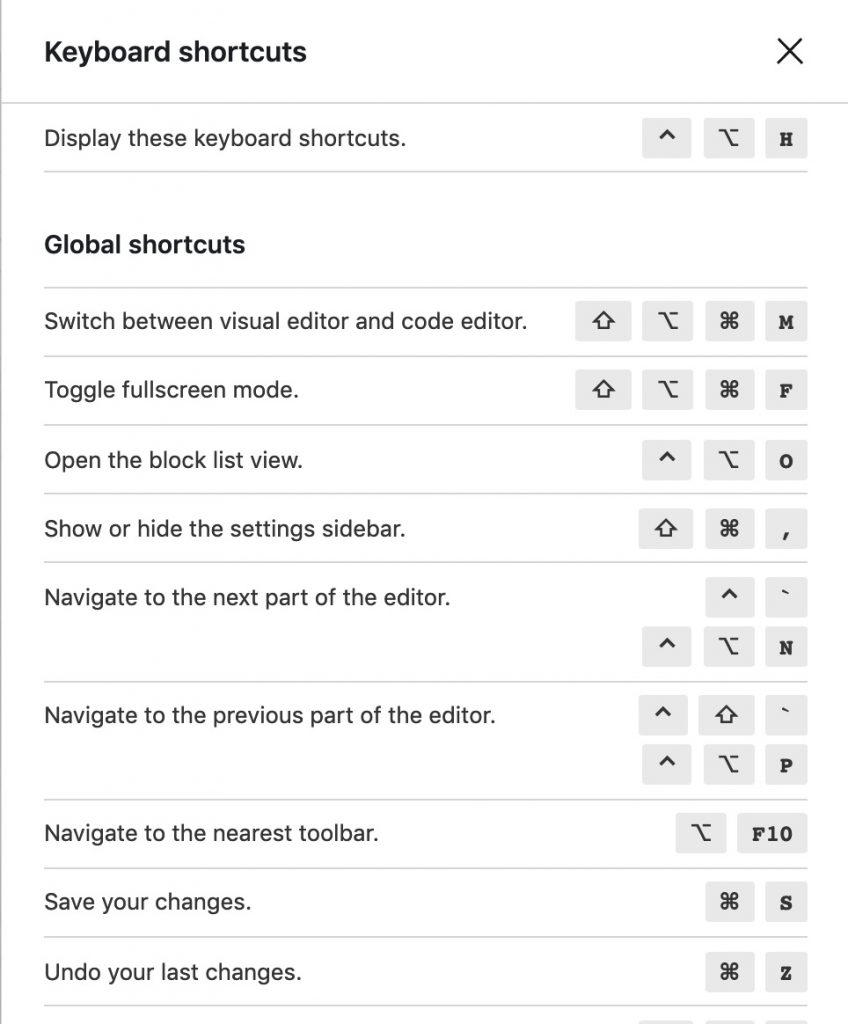
Learn keyboard shortcuts for productivity.
Since every content is a separate block in Gutenberg, you are doing a lot more clicks than before. So because of the numerous number of clicks, completing one action takes a bit longer.
The best way to fix this issue is to learn the keyboard shortcuts. This allows you to quickly add or remove blocks as needed.
To open the full list of shortcuts, use the keyboard shortcut “Shift + Alt + H” for Windows or “Option + Control + H” for Mac (the list below does not show the full list of shortcuts):

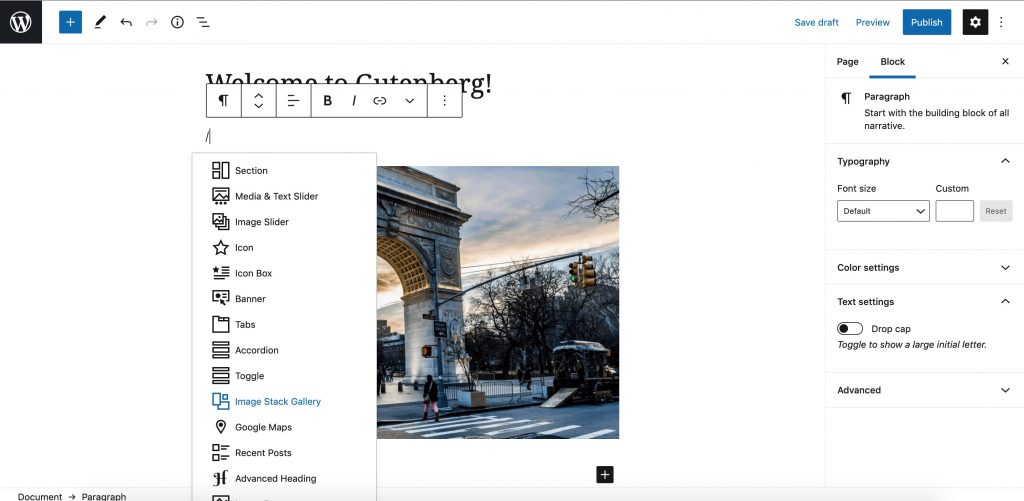
Insert blocks using a slash.
Instead of using the insert block popup every time you want to add a block, simply type the “/” sign in an empty block and search for the block by its name:
Drag and drop images from desktop to Gutenberg.
If you have multiple images to add to your page, just drag and drop them directly from your desktop to the needed location. Gutenberg will automatically upload them to your media library:

Use the Columns block for more complex layouts.
If you want to create more complex layouts, use the Gutenberg “Columns” block. By adding a column block, you can add other blocks and create advanced design solutions:

Final Thoughts: What is WordPress Gutenberg Now?
As much as some users prefer staying consistent, the era of Classic editor will end after it stops getting updates and support in 2022 (confirmed by developers).
At the end of the day, the WordPress visual editor is expected to become the ultimate solution preferred by most WP users over other editors and page builders. Not in vain: the Gutenberg convenience and lightness is combined with incredible visual functionality and content styling options.
So perhaps, now is the best time to explore and learn Gutenberg WordPress!