From our quick and simple guide, you will figure out what are sales funnels for WordPress settings and how to install it on your landing website. You will also learn how to use Google Analytics and Facebook Pixel.
How to puzzle out whether people interact with your website or not? Do visitors view your content, how many people add products to the cart before making a final decision? Or maybe you are looking forward to running a few Facebook ads and don’t know how to cope with it.
How to Run Google Analytics
Supposedly you are going to build a website, where you will be selling gadgets and other electronics. To set up ads and capture the visitors’ actions into a sales funnels for WordPress, you need a strong and reliable tool. Google Analytics will help you get information such as:
- who are your website visitors;
- where are they from;
- what are they looking for at your website;
- how many pages are viewed;
- what kind of posts are the most relevant, and a whole lot more.
One more advantage of Google Analytics services is that this tool is completely free. In addition, you don’t need a line of code to set everything up. As a first step, you need to visit an official website and create an account, if you don’t have one.

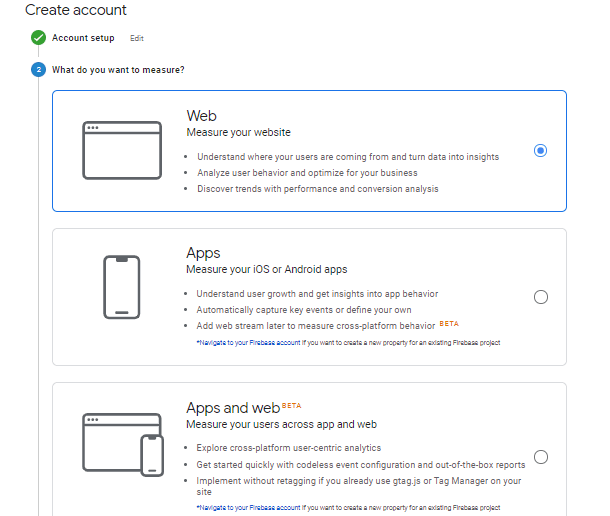
Set some essential options and click “Create”.

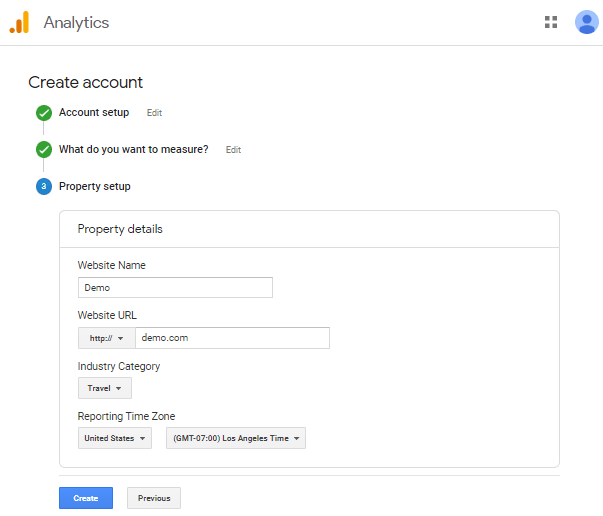
Once you’ve created a project, you have to keep in mind that you are able to run a few websites having one Google account, which is one more advantage of Google Analytics. Accept the terms and conditions.
How to Add Google Analytics Code to Your Website
The Google Analytics JavaScript code activates the sales funnels for WordPress. It is fixed regardless of the type of website you run. However, if you have a website with a few pages, you will need to paste this snippet on every page.
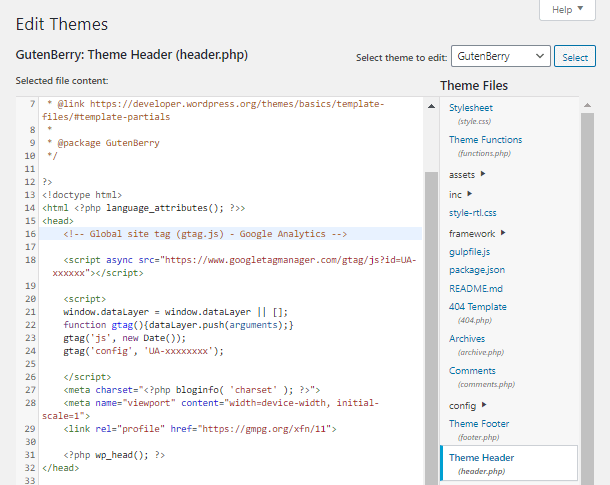
Now as we are building a landing, you only have to paste the JavaScript code before the closing </head> tag.
After that, go to the Appearance > Editor > Theme editor and select a needed theme in the right dropdown. Find the Theme Header file and paste the code. Replace the “UA-xxxxxx” text with your Google Analytics ID. To find your ID, you may go to your GA account, select a property from the menu in the Property tab. After that, click Tracking Info > Tracking Code and copy the ID.

How to Verify a Website Using Google Analytics
Firstly, you need to confirm the ownership of your website to have access to its Google Search data and track its presence on Google Search for sales funnels for WordPress. In order to verify your website using the tracking code, you’ll need your previously created GA account.
Before verifying, ensure that your page has a Google Analytics tracking code in the head section of the page.

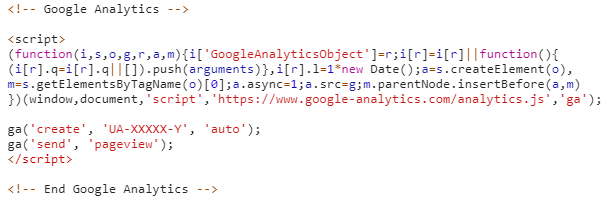
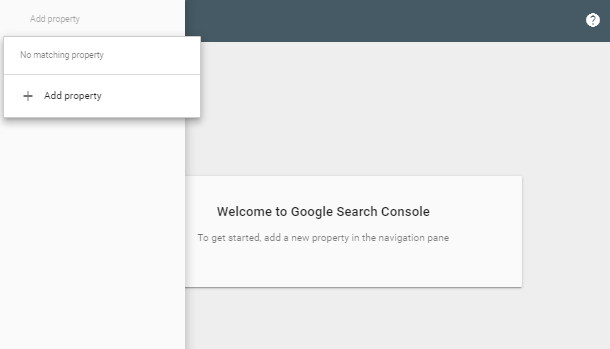
Open your source code and confirm that the tag is present in the head tag and after that, you need to go to your Google Search Console and click the “Add Property” text.

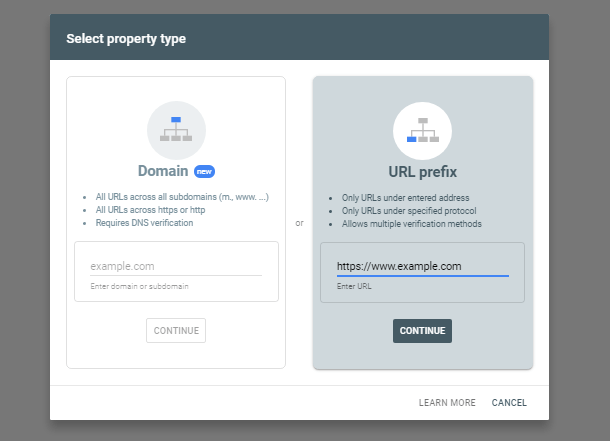
Choose the second type, enter your website’s URL and press “Continue”.

Download the HTML file, upload it to your website and click the “Verify” button. You must be logged in to the search console with the same Google account that you use for Google Analytics for sales funnels for WordPress. If you perform the steps above correctly, the verification will work immediately.
Install Google Analytics Using Tag Manager for Sales Funnels for WordPress
Among the wide variety of methods to install Google Analytics, this one is better than the first two because it immediately gives you the opportunity to add both the search console and the Facebook pixel. This is the recommended way because it does not require a bunch of scripts and working with code.
Google Tag Manager is a free tool for managing tags and codes for web analytics systems developed by the Google team. It has a bunch of benefits:
- configure the analytical systems;
- save time for specialists on editing the site code;
- setting up new tags or making changes to existing ones is quite simple;
- slow loading tags do not affect page loading.
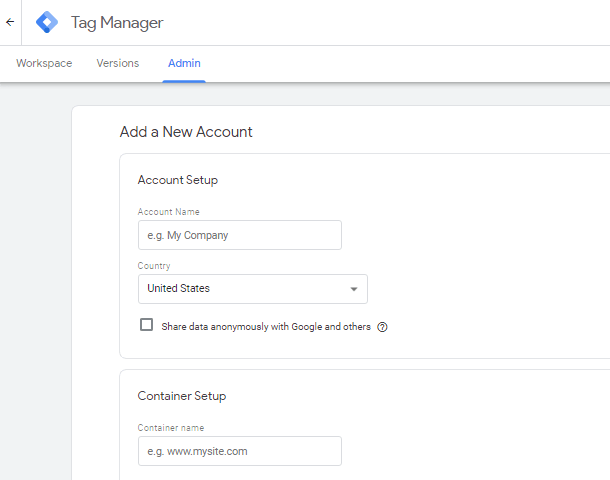
In addition, go to the Google Tag Manager website and let’s create a new account. Here you need to specify the name of the account, container name and select the region. You also need to choose where the container will be used.

After that, a window appears with the GTM code. Paste this code before the closing <head> tag of the page.
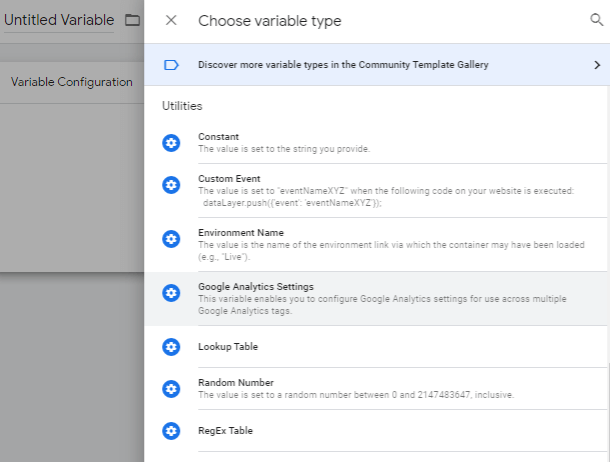
In addition, let’s add Google Analytics to your website. Go to the Variables tab of your GTM account. Press the “New” button and go to the Utilities block. Here you have to choose Google Analytics Settings.

After that, enter your Google Analytics Tracking ID.

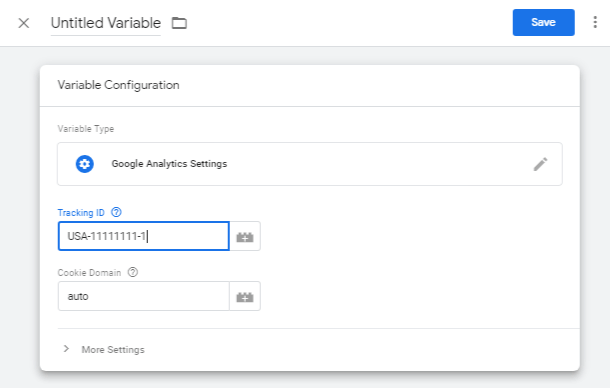
Open the More Settings tab and find the Advertising section and turn on the functions for the Display Network. This enables demographic and interest category reporting, remarketing in Google Analytics, and integration with DoubleClick Manager.
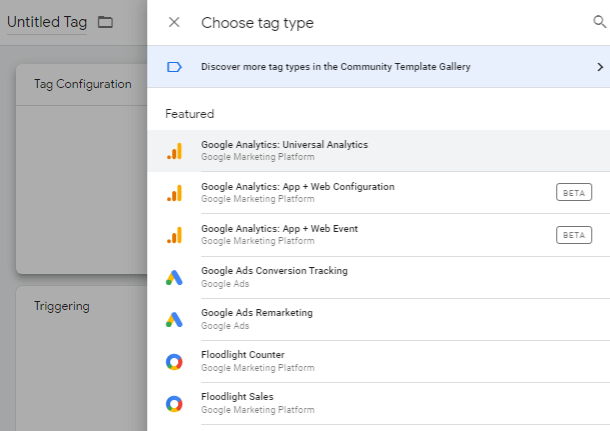
Then go to the Tags tab and create a new one. In the tag configuration, select Universal Analytics.

After that, set the tracking type as “Page View” and select the newly created variable in the Google Analytics settings.

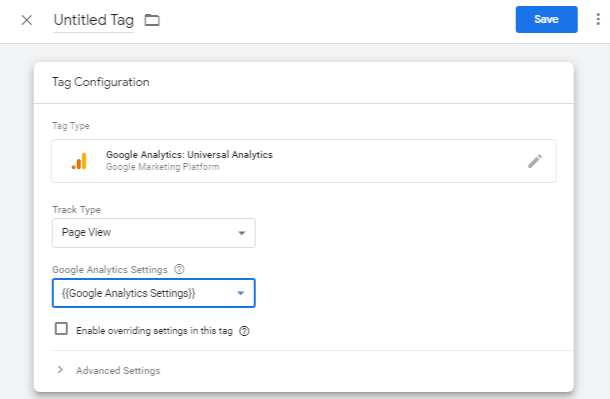
Below is the Triggering tab, where you need to select All Pages. Indicate the name of our tag and save.
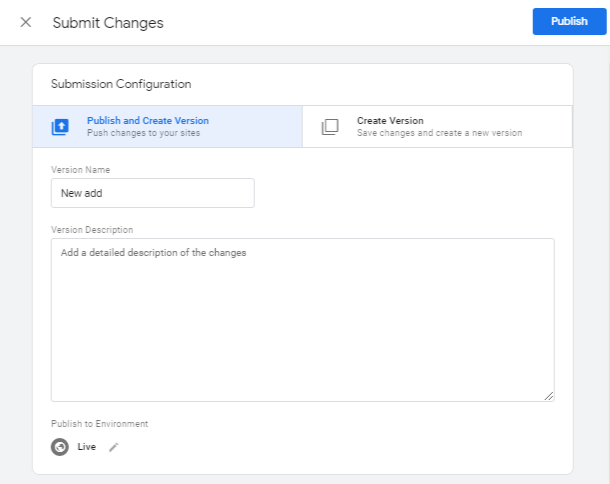
after that, click on the Submit button in the top right corner of the page set all the settings and publish.

Add Facebook Pixel for Sales Funnels for WordPress
Firstly, let’s start with the definition of Facebook Pixel for sales funnels for WordPress. It is a tool in the form of JavaScript code. If you feel that your Facebook ads don’t work as you expected, you can reduce their cost by sending them to more targeted viewers. When you install Facebook Pixel, it will receive information on tracking conversion.
To create a Pixel, you need to do a few simple steps.
- Open your personal Facebook Events Manager, click on the hamburger menu and choose Pixels.
- Click on the “Create a Pixel” button.
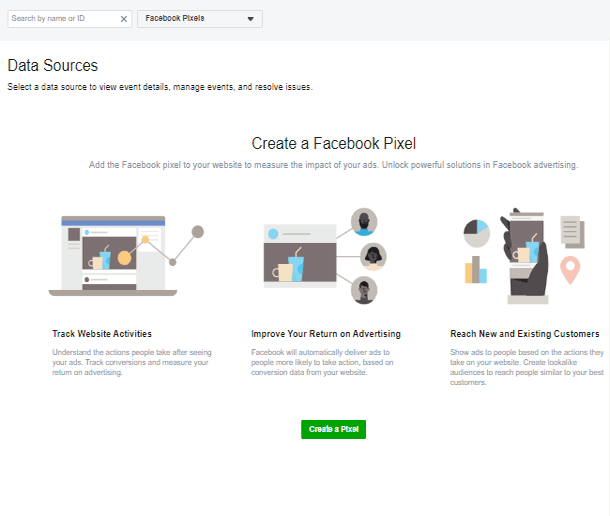
- Give your pixel a recognizable name, which will represent your company, and enter its URL.
- After that, you will need to pick an installation method. Choose “Manually Install the Code Yourself”.
- Take the code below and paste it into the <head> tag of your website.
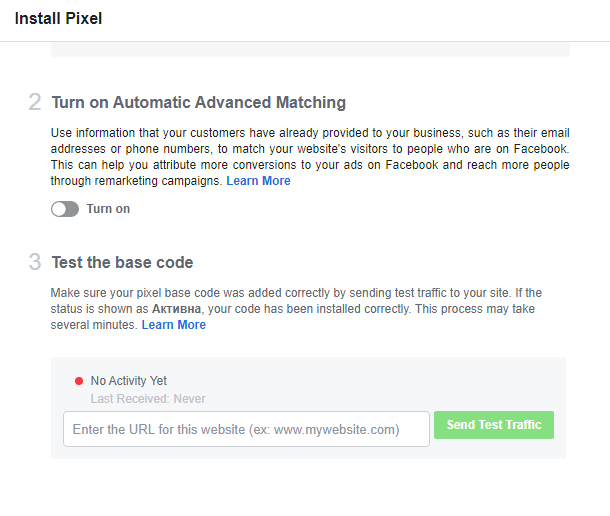
- Decide whether you want to enable automatic advanced matching. This can help you attribute more conversions to your ads on Facebook and reach more people through remarketing campaigns.
- Enter your website’s URL and continue.
- Select the event categories, that are meaningful to your business. Among them are Add to Cart, Find Location, Donate and 14 more. Once you choose the event, Facebook Pixel will track interaction.
- You can also create a custom event conversion.
Install the Facebook Pixel with Google Tag Manager for Sales Funnels for WordPress
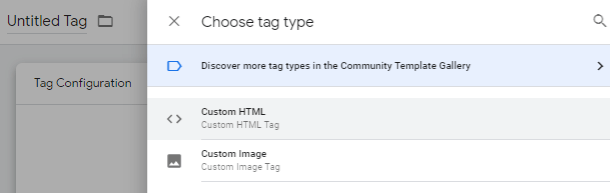
In a previous paragraph, we have already created the Google Tag Manager account. Now we will use it to add a Facebook Pixel. Go to your Goole Tag account and create a Custom HTML tag.

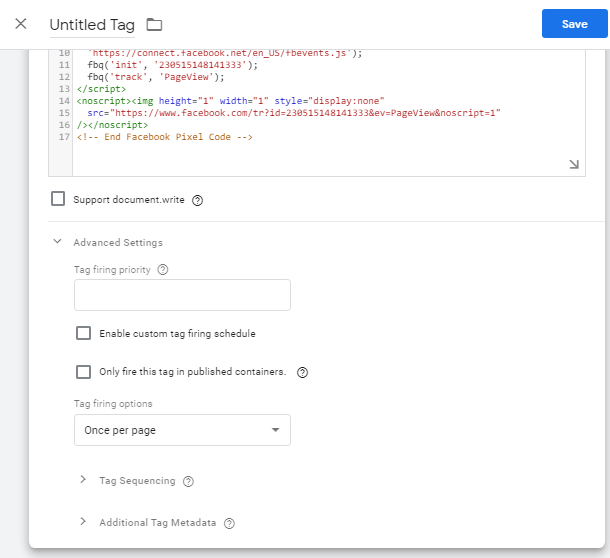
Give your tag a name and open your Facebook Pixel page. Go to the Pixels tab in Events Manager. Click Create a Pixel. Choose Manually add pixel code to your website and copy the code.


Go to the Google Tag Manager console and paste this code in the Custom HTML area. Open the Advanced Settings dropdown bellow, and select Once per page under Tag firing options. Save the changes and give a name to your tag.

Congratulations! Now you know a lot of different ways to add a Google Analytics and Facebook Pixel to your website. Choose the best variant which will suit you! We also offer you to check out this informative guide on how to build an effective sales landing page.