From this quick overview, you will find out more about the WordPress Video widget in Gutenberg. We will also learn how to customize this block in the Gutenberg editor.
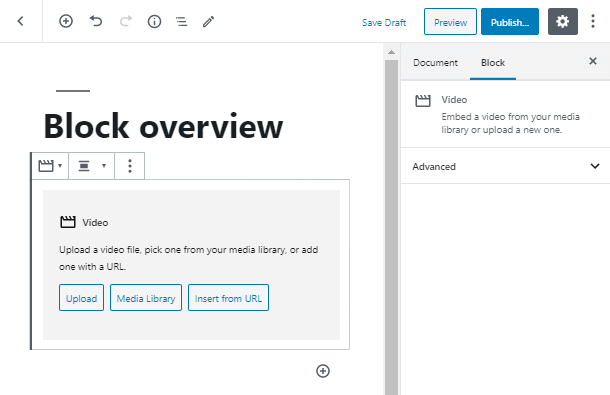
Firstly, let’s start the overview by adding a Gutenberg Video block. Click on the plus icon and place the element on the page. After that, you can upload your video from the Media Library, your PC, or simply insert the video from URL.

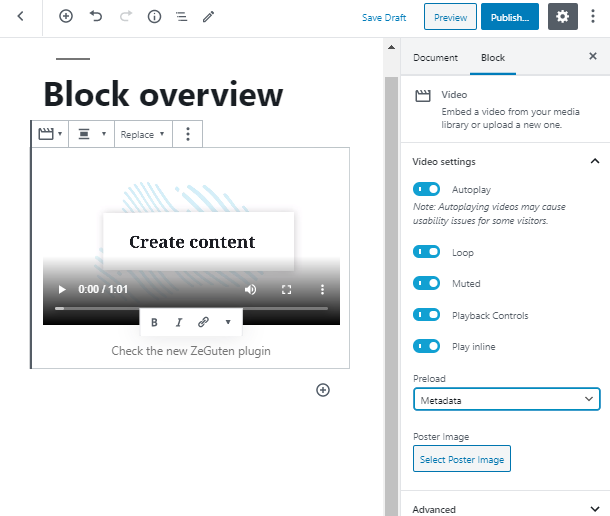
After you have added the block, a bunch of Video settings becomes available immediately. You can start by enabling autoplay and loop.
Add playback control and make it play inline. You are also able to mute it. As well as set the preload.

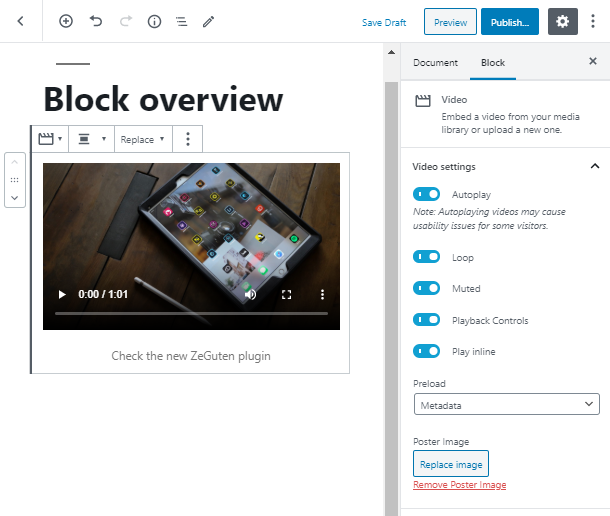
One of the additional features, which is available for the Video widget WordPress block, is posting a featured image. In case you haven’t enabled autoplay, the visitors will see the image until they turn on the video.
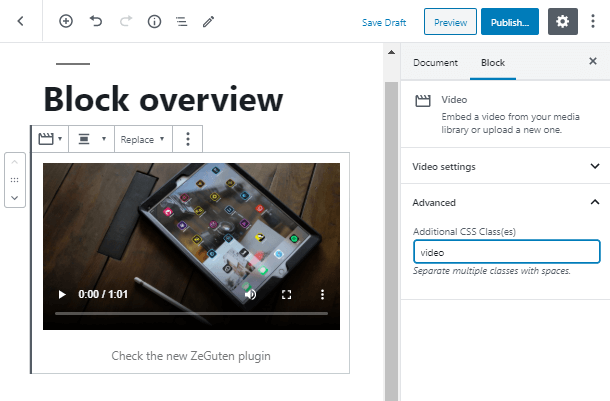
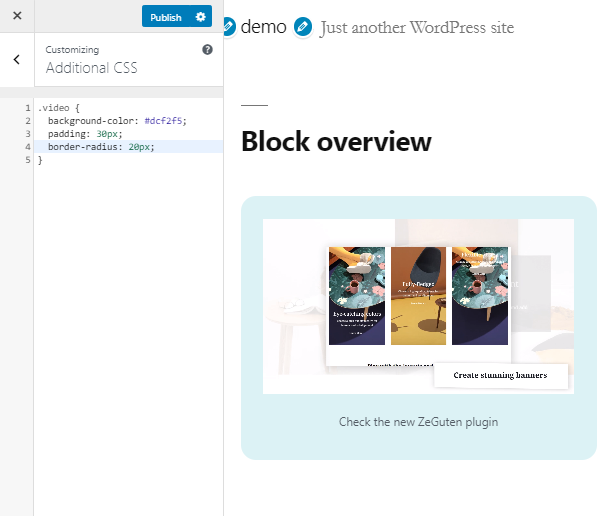
Unlike the other WordPress editors, the Gutenberg editor offers you to add additional CSS classes. Simply go to the Advanced tab of the Block sidebar and give your Video widget WordPress block a new class.

Let’s live up your wildest dreams and style up the new CSS video class in the WordPress Customizer.
You are able to set a bunch of options to edit the interface of the Video block. It can be the color of the background, paddings for each side, or even the radius of the block’s border. Feel completely free to experiment!
Congratulations! Now you know what is Video widget WordPress block and a few ways of how to style its interface in Gutenberg and Customizer. You may also want to know more about the Video Popup Gutenberg block. Let’s stay in touch! Subscribe to our newsletters to get more interesting information.