Lottie Elementor animations are simple, creative yet highly effective solutions. They can spice up any web page. With Elementor being one of the leading web builders, adding such animations is easy. In today’s guide, we’ll show how to add Lottie animation in WordPress to any page, including portfolios. Stratum Elementor widgets and the Gutenix theme will help us with it.
What are Lottie Animations?
Before integrating Lottie animations into your WordPress website, let’s learn more about them. Lottie is a JSON-based file format for vector graphics animations. It is created with Adobe After Effects and other motion graphic apps. This format stands out due to its versatility and small size. It’s even more useful when compared to other popular formats, such as GIF.
The scalability and simplicity of integration made Lottie highly popular in a short time. Moreover, anyone can easily integrate animated Lottie files into design and development projects. It’s possible due to diverse online libraries of ready-made premium & free animations. You can also use any WordPress Lottie plugin to integrate an animation.

Tools Used for This Lottie Elementor Guide
To demonstrate how to add these animations with a free Elementor Lottie widget, we have used several widely available tools. Regardless of your experience with WordPress, adding any kind of Lottie Elementor animation to your website won’t be a complex task with our guide. Here’s what we used to make it happen:
- WordPress with pre-installed Elementor page builder: With WordPress being one of the top-rated CMS for effective website development and Elementor as the leading visual customization tool to match it, you will be able to create impressive websites with smooth Lottie animation WordPress plugins and widgets omitting any unnecessary coding.
- Gutenix theme: This WordPress theme is one of the easy-to-use and fully customizable solutions when it comes to establishing your website. Regardless of your current experience level with WordPress, this theme will deliver outstanding results, especially with the multitude of available features & skins that are compatible with popular web builders (Elementor, Gutenberg, and Brizy). In our guide, we’ll use the JusticCo skin, which is available without any extra payments. Needless to say, you can use any other WordPress theme!
- Lottie Elementor animation widget: Finally, the essential element for integrating any Lottie animation is the widget supplied with a free version of the Stratum addon for Elementor. Developed by MotoPress, a leading company delivering niche solutions for WordPress, this addon offers 20+ free & premium widgets for everyone’s favorite page builder. From adding animations to integrating Instagram feeds, this tool enhances your website content easily.
Step 1: Install and Activate the Gutenix Theme (or Use Any Other One on Elementor)
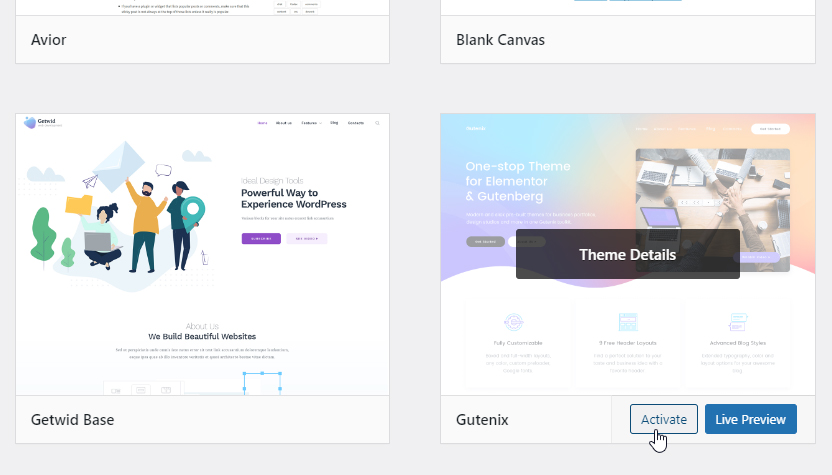
Assuming you have WordPress & Elementor installed, we recommend starting with the theme activation for your website. As stated above, we chose the Gutenix theme for this tutorial. First, you’ll need to activate it after installation in the WordPress dashboard. Navigate to the Themes tab of the Appearance section to choose the preferred theme.
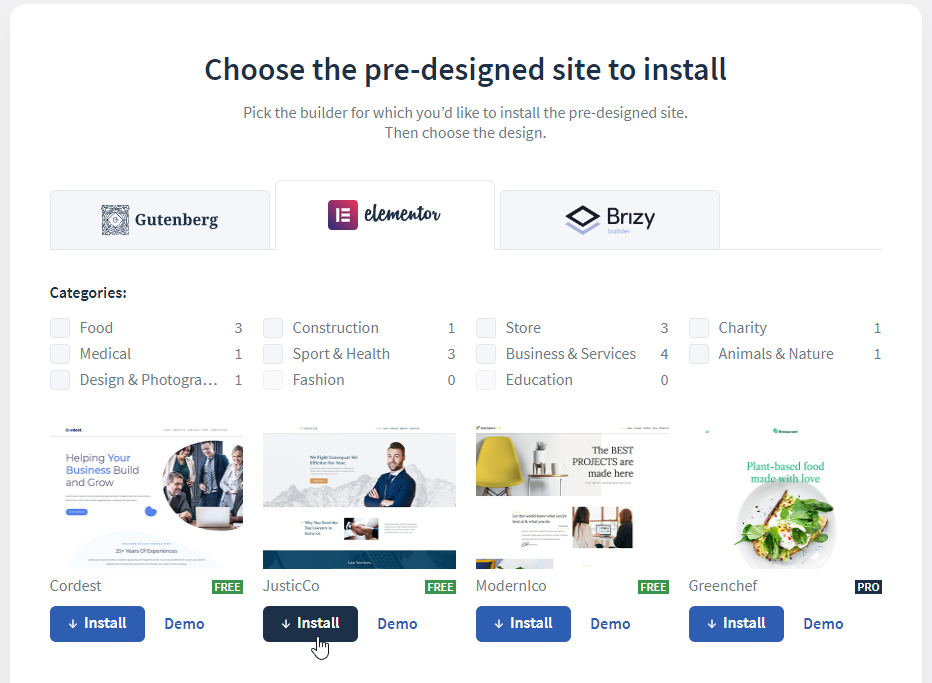
Step 2: Choose the Preferred Design
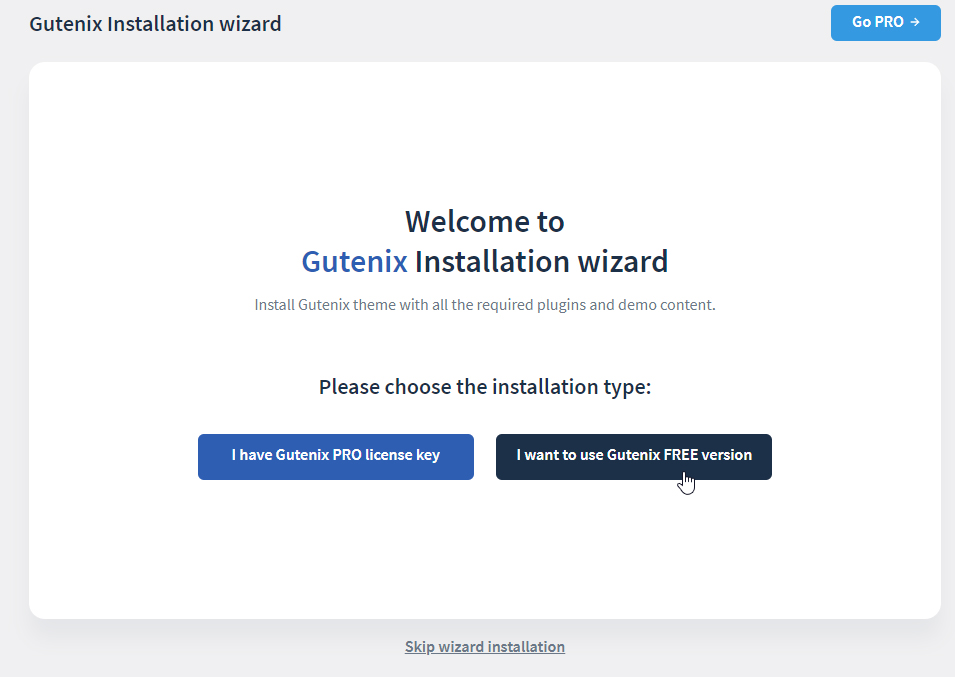
After that, we’ll need to activate the Gutenix Wizard plugin. It will enable skins and additional designs for the selected theme. They are available as a part of Annual and Lifetime memberships. The JusticCo skin can be selected here as shown in the image above.
Step 3: Install and Activate Stratum
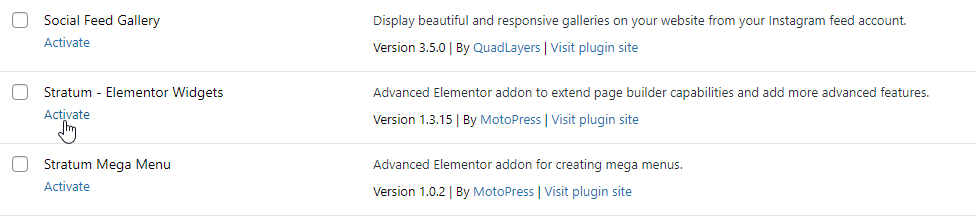
Next, let’s install and activate the Stratum addon to make integration of Lottie Elementor animations possible. You can find it in the Plugins section of the dashboard to activate it. If it isn’t installed yet, browse the WordPress plugin directory by typing Stratum in the search bar of the Plugin section. All of this can be done in the admin panel of your WordPress website.
Step 4: Create a Page in Elementor

When everything is ready, we can move to creating a page in Elementor. Then, we’ll add a Lottie WordPress animation to it. First, let’s create a new page by pressing the “Add new…” button that can be found in the Pages section. You’ll see a blank Gutenberg editor page. To switch to Elementor, press a corresponding button on top of the page. The workspace will change and you’ll be able to edit a new page with the desired builder.
Step 5: Add the Lottie Elementor Widget
After switching to Elementor, we can freely customize the new page. Let’s start with adding the Lottie Elementor widget supplied with the Stratum addon. Just select it on the editor’s left panel. You can also type “Lottie” in the search bar to quickly find it.
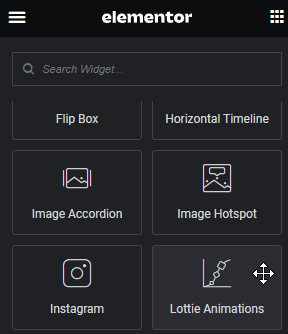
Then drag the widget to your blank page to start adding the animation to it. The left panel will display the Lottie animation Elementor widget’s controls as shown below.
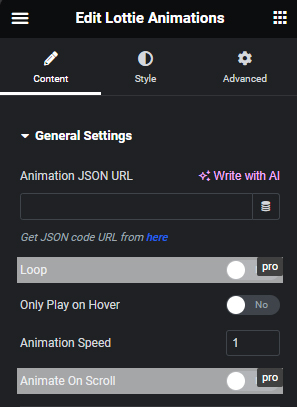
These are only some basic options that the widget provides alongside more advanced ones that we’ll talk about later in this post.
Step 6: Find a Suitable Animation on LottieFiles
Now let’s find a suitable animation that we will add to our new page. While you may create your animation using any motion graphics editor, such as Adobe After Effects mentioned above, the fastest way is to obtain a ready-made animation from any online library, such as LottieFiles. It’s a marketplace of static and animated Lottie images that can be easily added to any platform, from WordPress to Wix.
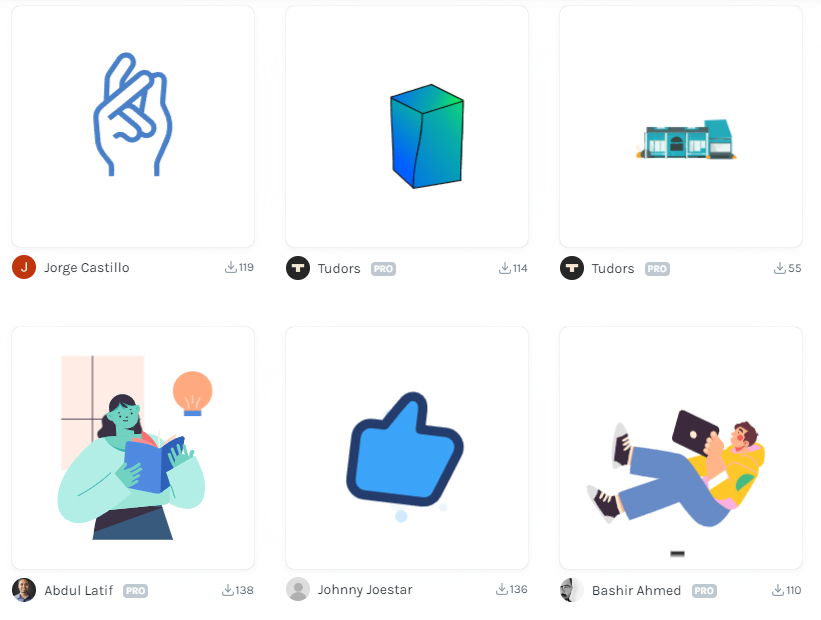
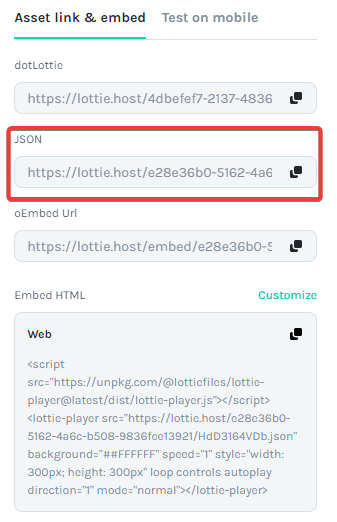
For the sake of this tutorial, we chose a free animation to add later to our newly created Lottie Elementor page. To do so, we first need the URL of a JSON file that contains the animation. It can be found at the bottom of the item’s page on the LottieFiles marketplace. Press the Copy button near the JSON link to get the URL.
Step 7: Add the Selected Lottie Elementor Animation to the Created Page
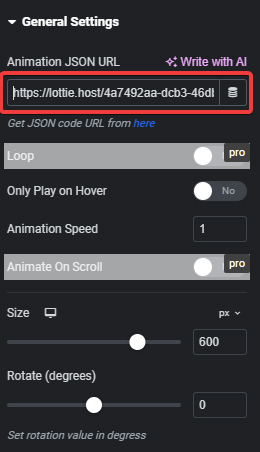
Finally, let’s add the animation to our Elementor Lottie widget page. Paste the URL we copied earlier into the “Animation JSON URL” field. The animation will appear on the page and start playing instantly.
Step 8: Configure the Lottie Animations Widget and Publish Your Elementor Page
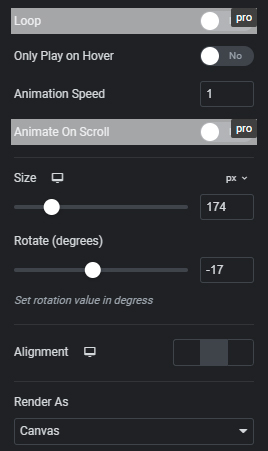
In addition to the abovementioned steps, you may want to perform some extra configurations on the added animation. For example, on the content tab, you can change the size, alignment, and rotation of the Lottie Elementor file. Moreover, you can render it as Canvas if you notice certain performance issues on your page. With the Premium version of Stratum, you can do even more, from looping Lotties to animating them on scroll.
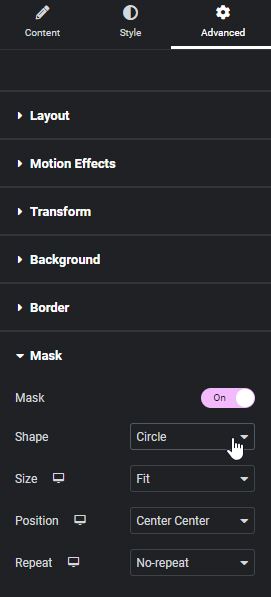
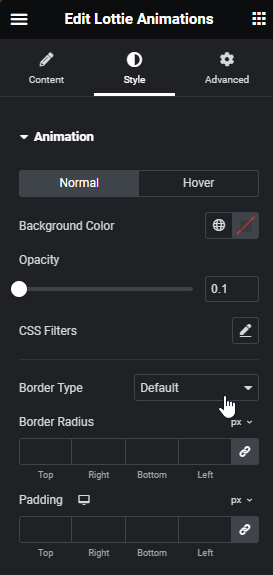
The Style tab offers more control over the chosen animation. For example, you can change its background color or opacity, and add different CSS filters (blur, brightness, hue, etc). For even more options, navigate to the Advanced tab, where you can change the layout of the widget, add motion effects or masks, and more. After all editing on the page is completed, you can safely publish or update an existing Elementor page with the newly added animation.

Conclusion
We hope this guide on adding a Lottie Elementor animation to your WordPress website has helped you learn how to make Lottie animation and why your website can benefit from it. It’s also worth noting that the Stratum addon for Elementor is available in both free & premium versions offering you a diverse selection of widgets for this builder as we’ve already mentioned.